Sunday, April 29, 2012

Tuscan Garlic Chicken


I found this recipe via Pinterest, of course! It's from Mel's Kitchen Cafe. I had a similar dish at Olive Garden and have wanted to replicate it at home.  It is spot on in terms of flavor and taste.  Of course, I made some changes to the recipe.  I'm sharing my adapted version here.


INGREDIENTS:
3/4 cup all-purpose flour
1/2 tablespoon salt
1 teaspoon pepper
1/2 teaspoon dried basil
1/2 teaspoon dried oregano
4 boneless, skinless chicken breasts
5 tablespoons extra virgin olive oil, divided
1 tablespoon finely minced garlic (about 4-5 cloves)
1 red bell pepper, cut into thin strips or chopped
1/2 cup low-sodium organic chicken broth
6 ounces fresh spinach
1/2 cup heavy cream
2 teaspoons cornstarch
1 cup fat free milk
1 tsp salt
1/2 tsp freshly ground black pepper
1 cup freshly grated Parmesan cheese
1/2 pound fettucine

DIRECTIONS:
Preheat the oven to 350 degrees F.
In a shallow pie plate or similar dish, combine the flour, salt, pepper, basil and oregano. Dip each chicken piece in the flour mixture until both sides are well coated.

In a large 12-inch nonstick skillet, heat 3 tablespoons of the olive oil over medium heat until the oil is hot and shimmering. Carefully place the chicken breasts in the pan, cooking them for 2-3 minutes on each side, until they are golden and browned but not cooked all the way through (they’ll finish up in the oven). . Gently remove the chicken to a foil-lined, lightly greased baking sheet and bake in the preheated oven for about 15 minutes, until the chicken is cooked through. Set aside and tent with foil until ready to use.

While the chicken is cooking in the skillet, heat a large pot of water to a boil and add the noodles, cooking until al dente. Also, wipe out the skillet with a couple paper towels and return it to medium heat, adding the remaining 2 tablespoons olive oil. When the oil is hot, add the bell pepper, sauteing for 2-3 minutes, then add the garlic the last minute to prevent it from burning.

Stir in one tablespoon flour and stir constantly while cooking for another minute. Add the chicken broth to the skillet and bring the mixture to a low simmer, whisking constantly, until slightly thickened, about 3-4 minutes. In a small liquid measure, whisk together the cornstarch and cream. Add the spinach, milk and cream mixture to the skillet. Bring the mixture to a simmer and cook, stirring occasionally, until the spinach is wilted and sauce is slightly thickened, about 2-4 minutes. Add salt and pepper, adding more to taste if needed.  Stir in the Parmesan cheese.

When the pasta has finished cooking, drain and return it to the pot. Toss the pasta with half of the cheese sauce. Place some of the coated pasta on each plate. Top with a breaded chicken breast and spoon some of the sauce over the top of the chicken and pasta. Serve immediately.

My 13 yo loved this dish, too.  He even ate the spinach until he found out that it was spinach!  LOL

Enjoy!

~peace and blessings~
Lisa


Tuesday, April 24, 2012

More Luau Party Prep!


Just ordered these plates, along with napkins, dessert plates, a pinata and some flowers for the upcoming luau.  I think they are the cutest!  They are from www.celebrateexpress.com .  I am always pleased with their service and products.

Thanks for stopping by!
~peace and blessings~
Lisa

Monday, April 23, 2012

Snow Day!


Here's the snowfall as of this morning at 7 am.  It's about 5 inches.  It's definitely beautiful, but not something that I'd expect to see in April, and not this late in April.  All area schools are closed today. 


~peace and blessings~
Lisa

Sunday, April 22, 2012

Luau Party Invite

Click to play this Smilebox invite
Create your own invite - Powered by Smilebox
Digital invitation made with Smilebox

I made these invites using Smilebox.  Stop back for
 more luau party ideas soon!

~peace and blessings~
                                               Lisa

Spring Lawn Prep


Spring has arrived on the mountain.  The trees aren't totally leafed out yet, but things are certainly starting to sprout from a long winter's rest.  Above, J is digging out in front of the house so we can complete the landscaping there. 


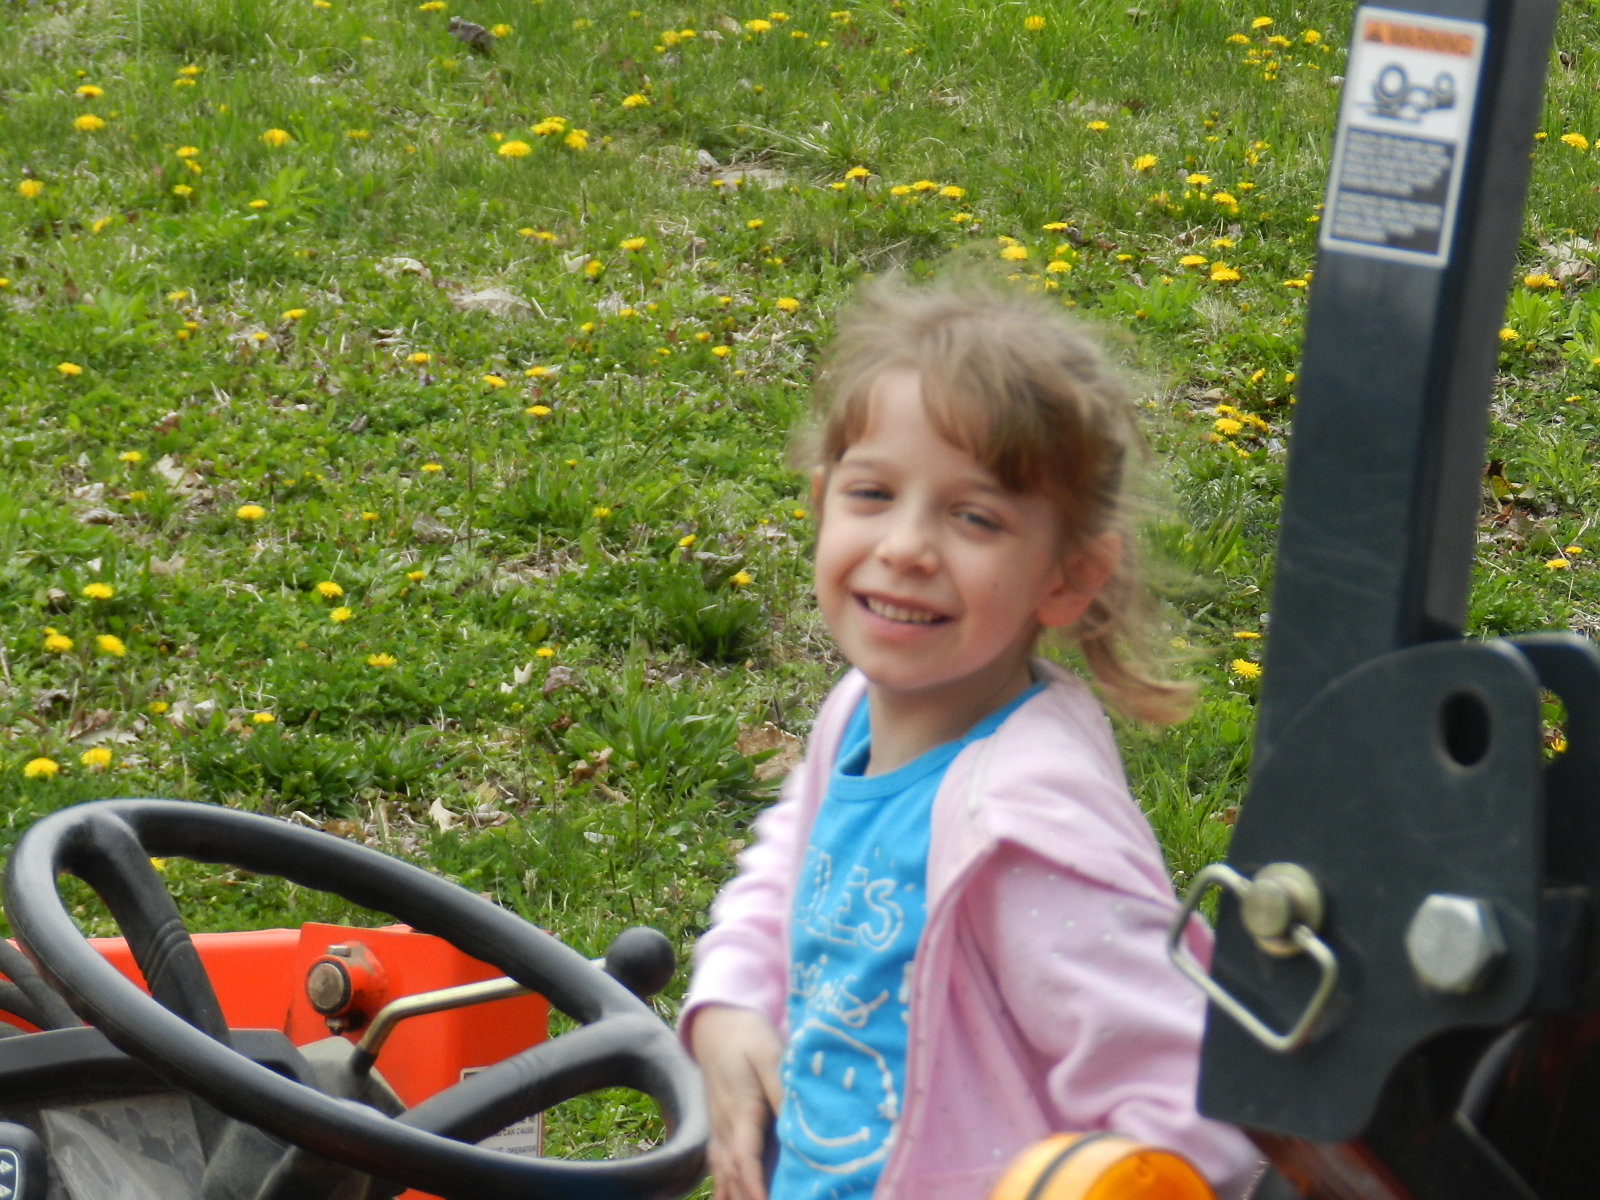
Miss M had to get on the tractor...just couldn't help herself. ;0)


Our Weeping Cherry Tree when it was first planted....it now has flowers and leaves.


The Bleeding Heart came back!  It was one of the first bloomers.  I am hoping the forecasted snow doesn't damage it too much!  J just had tons of dirt delivered this week so we can get the lawn started, but the weather isn't cooperating fully.  I'll share pics of the progress as it happens.

Thank you for stopping by!

~peace and blessings~
Lisa

Saturday, April 14, 2012

Fried Pickles


Photo from A Chick Who Can Cook Blog

I found this recipe via Pinterest.  I gave them a try tonight.  I lightened up the recipe a bit by using fat free and lower fat products. You can view the original recipe at A Chick Who Can Cook.  In the end, they're still fried pickles, but every little bit counts. 

Fried Pickles
  • 15-20 round pickle slices (I used dill slices)
  • 1/4 cup egg beaters
  • 1/2 cup fat-free milk
  • hot sauce
  • 1/2 teaspoon Worcestershire
  • 1/2 cup flour, divided
  • 1/4 cup panko bread crumbs
  • 1/2 teaspoon garlic powder
  • 1/4 teaspoon ground pepper
  • kosher salt
  • oil for frying, such as canola or vegetable

  1. Lay pickle slices on a paper towel and pat dry.
  2. In bowl whisk together egg, milk, a couple drops of hot sauce, Worcestershire and 1/4 cup flour.
  3. In another bowl mix together remaining 1/4 cup flour, panko bread crumbs, garlic powder and ground pepper.
  4. Dip a dried pickle into batter then dredge into panko mixture to coat completely. Transfer to a plate, repeat with remaining pickles. Allow to sit while the oil heats.
  5. Heat 1 inch of oil in a sauce pan over medium-high heat. Once the oil starts to shimmer, sprinkle in a pinch of flour. If it sizzles the oil is hot enough. Fry pickles in batches until golden brown, about 3-5 minutes. Transfer to paper towel lined plate. Sprinkle with kosher salt. Serve immediately.

We ate these with ranch dressing.
Enjoy!

~peace and blessings~
Lisa

Monday, April 9, 2012

Easter 2012

Click to play this Smilebox scrapbook
Create your own scrapbook - Powered by Smilebox
Free scrapbook generated with Smilebox


Here are some photos from our Easter Sunday.  Thank you for stopping by today!

~peace and blessings~
Lisa